Life Slice
  • General Info & Blog
    • YardTalk Blog
    • Investigate Sustainable Living
    • About Life Slice
    • FAQs
    • Contact Us
    • Resources
  • Gardening
    • How to Start a Garden>
      • Building Sustainable Soil
      • Composting & Mulching
      • Garden Fencing
      • Irrigation
    • Organic Pest and Plant Disease Control
    • How to Collect, Store and Prepare Seeds
    • How to Start Plants from Seeds
    • Transplanting and Potting Up
    • How to Grow and Use Culinary Herbs>
      • Companion Planting Culinary Herbs
    • Companion Planting Guide
    • Cool season gardening
    • Warm season gardening
    • Propagating - How to Grow Plants from Cuttings
  • Orchards
    • Organic Orchard Planning
    • Selecting Tree Varieties
    • How to Plant a Tree
    • Tree Care and Pruning
    • When to Harvest Fruit
  • Poultry & Backyard Farm Animals
    • Chicken Overview >
      • Best Chicken Breeds for the Backyard
      • Buying, Incubating and Raising Chicks
      • How to Build a Chicken Coop and Free Ranging
      • Nesting Boxes
      • Chicken Feed
      • Chicken Water and Watering Options
      • Egg Collection, Cleaning & Storage
    • Guinea Fowl
    • Dairy Goat Overview & Breed Information>
      • Fencing & Gates
      • Barns and Milking Rooms
      • Feed and Nutrition
      • Trimming Hooves
      • Health, Vaccinations & Worming
      • Buck Information
      • Breeding & Care of the Pregnant Doe
      • Kidding: Signs of Goat Doe Labor and Delivery
      • Goat Kid Feeding, Care, Handling and Training
      • How to Hand Milk a Goat
      • How to Dry Off (Stop milking for the Season)
  • Recipes & How Tos
    • About Goat's Milk >
      • Processing Goat's Milk for Human Consumption
      • How to Clean Milk & Cheese Making Equipment
      • Cheese Basics and Recipes>
        • Cheese Making Equipment
        • Ingredients for Making Cheese
        • Chevre
        • Creme Fraiche
        • Haloumi
        • Mozzarella
        • Ricotta
        • Queso Blanco
        • Squeaky Cheese
      • How to Freeze Milk
    • Garden to Table Recipes>
      • Sauces & Salsas
      • Appetizers, Soups & Small Plates>
        • Salads
        • Soups
        • Cheese Appetizers
        • Figs
        • Savory Crab Bites: Savoureux Gateau de Crabe en Pate
      • Egg Dishes>
        • How to Boil an Egg
        • Deviled (Stuffed) Eggs
        • How to Fry an Egg
        • How to Cook an Omelette
        • Poached Eggs
        • Egg Salad
        • Quiches & Custards
        • Scrambled eggs
        • Souffles
      • Main Dishes
      • Side Dishes
      • Desserts
    • Wild Harvests
  • Green Living
    • Green Cleaning Solutions
    • Alternative Energy: Solar Power
    • Rainwater Collection
    • Permaculture
    • Composting & Mulching
Loading

How to Collect Seeds from Plants & Store Them

How to Collect Seeds 

As exciting as it is to see seedlings emerge from the soil, it's even more thrilling when those seedlings come from plants that you have raised and then taken the seed from your own garden.

Collect seeds only on sunny, dry days without strong winds. Do not collect the seeds too soon after a rainy day or the seeds will be sodden. 

Seeds are ready for collection when it's fully dried, usually brown or black and crisp. If it is necessary to pick a seed green instead of waiting, for example, there is concern of a killing freeze, be sure to dry it off in sunlight on a window sill.

It is only worth collecting seeds from true and heirloom species. Many annuals are known as F1 hybrids. F1 hybrids are two reeding species crossed to produce often more vigorous and hardy than either parent plant, but they will not produce seed that germinates that will grow into a productive plant the following year.

The quickest method to collect seeds is to cut off the entire head or truss and place into paper envelopes, or for large heads, upside down in a paper bag. Do not use plastic bags because if the seeds are slightly damp they will rot. 

Cleaning and removing the seeds from the petals or protective covers is typically as easy as just give the seeds or flowers a good shake into a bag or pot with no holes.
Picture
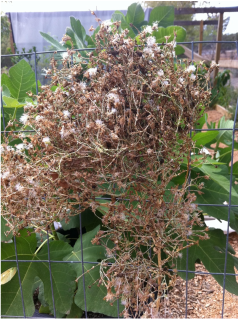
Lettuce gone to seed after intentionally allowed to bolt

Storing and Preparing Seeds

  • When the seeds are completely dry and clean, they can be stored in a cool, dry place.
  • You can hang flower heads in a dry storage space with circulation in paper bags. 
  • Seeds of most annuals, biennials and perennials are stored over winter and planted in February, March or April.
  • Fruits that contain seeds need to be broken open and the seeds dried before they are sown.  A fun way to start trees is to plant the seeds, such as from a mango or avocado. However, note that many of these fruits come from hybrid plants which may not produce fruits, but it's still fun to grow the tree from a seed.
  • Seeds from woody plants are often difficult to germinate, such as acorns. Ripe in the autumn, they have a build-in dormancy cycle time, only awakening for potential growth at the onset of favorable conditions. These conditions vary upon the type of seed you are planting, but often involve a period of cold after sowing. Placing these seeds in a cold place such as refrigerator for a few weeks and then a warm location such as green house will encourage germination. 
  • Some woody plants seeds have a thick seed-coat which prevents water from being taken up. Soadking in hot water or even boiing water will counrage germination. Many larger seeds such as sweet peas, melon seeds and cucumbers also benefit from an overnight soaking. Do not soak smaller seeds like lettuce, you'll just get a mushy clump of seeds.
  • Seed capsules from hot climates can be put into a hot oven and they will then split open to reveal the seed. 
Picture
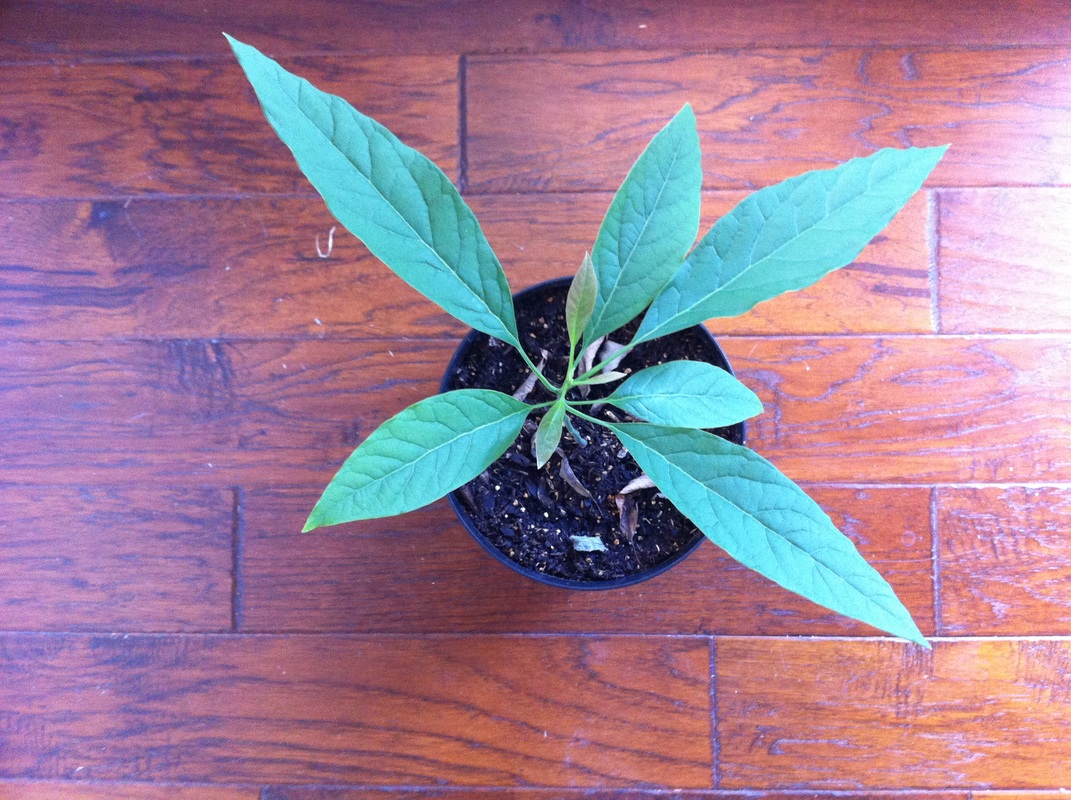
Avocado tree started from the impromptu planting of a seed
Picture
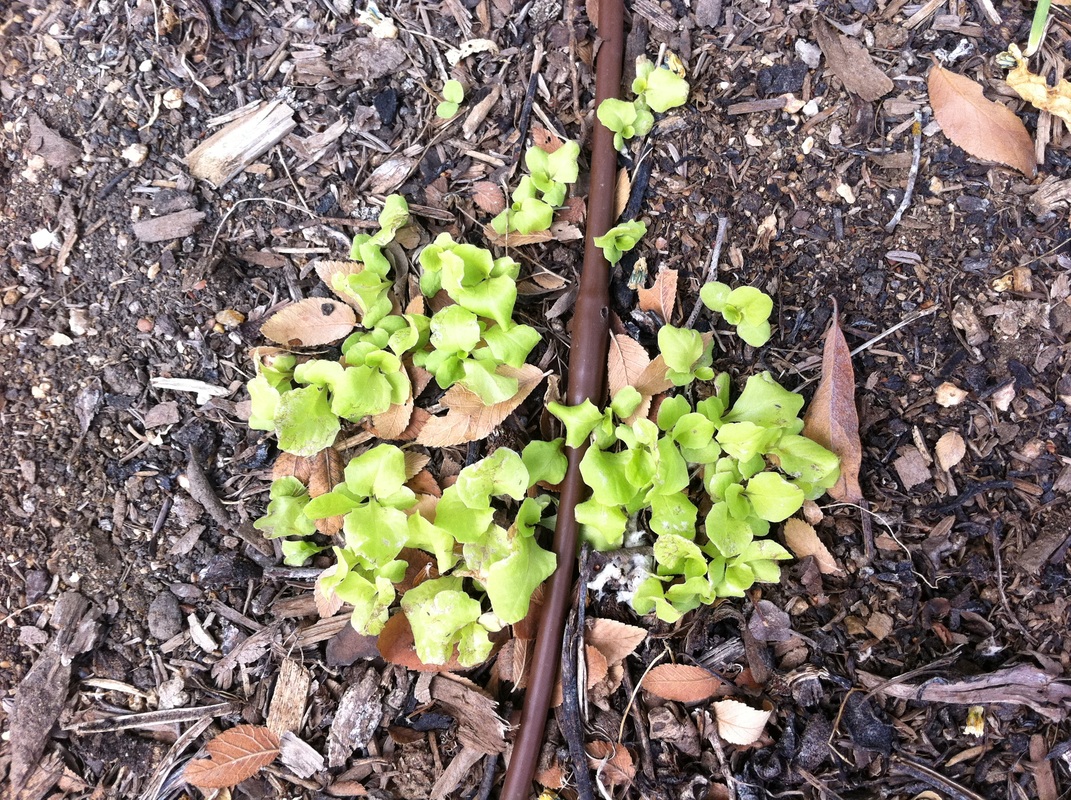
This young lettuce sowed itself from the seeds of its parent plant that bolted in summer.
Create a free website with Weebly