How to Grow Lavender
Lavender is a wonderful, fragrant flowers that keep their fragrance when dried and offer with many uses. Besides being beautiful and aromatic, lavender flowers are also edible. They can be used raw in salads, added to soups and stews, used as a seasoning, baked into cookies, made into oil and brewed into tea. You can use lavender to make potpourri, sachets and much more.
Undeterred by the fact that it is a native of the Mediterranean and a lover of dry, sunny, rocky habitats, we give it a try anyway, hoping it will adapt. After all, England can hardly be considered dry or particularly sunny, yet English gardeners are renowned for growing lavender plants. Think of ‘Hidcote’ and ‘Munstead’, two of the hardiest and best loved lavender varieties.
There are many varieties of lavender; so look for the variety best suited to your area:
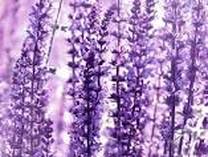
- English lavender (also known as Munstead) grows in sunset climate zones 5-8. It is a sweetly fragrant lavender that can be used for perfumes and sachets. It is also great for flavoring ice cream, jams, meat rubs, and pastries. Blooms in the summer.
- Grosso is a widely planted commercial variety in Italy and France and in the US grows in zones 5-8. It is the most fragrant of the lavandin species. It can grow to 2 1/2 feet tall and wide. It has silvery foliage with large, conical spikes of violet-blue flowers with darker calyxes. It is excellent for drying and often repeats bloom in late summer.
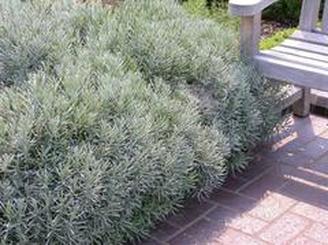
- Hidcote grows in zones 5-9 is a versatile, fragrant perennial shrub has many uses beyond the herb garden. Deep purple flower spikes above mounds of gray-green foliage provide great color to the front of shrub borders or spotted into the rock garden. Highly effective in mass plantings.
- Lavandin (also known as Provence) grows in zones 4-24 and has branching stems with flowers that appear at intervals near the top. Blooms in the summer.
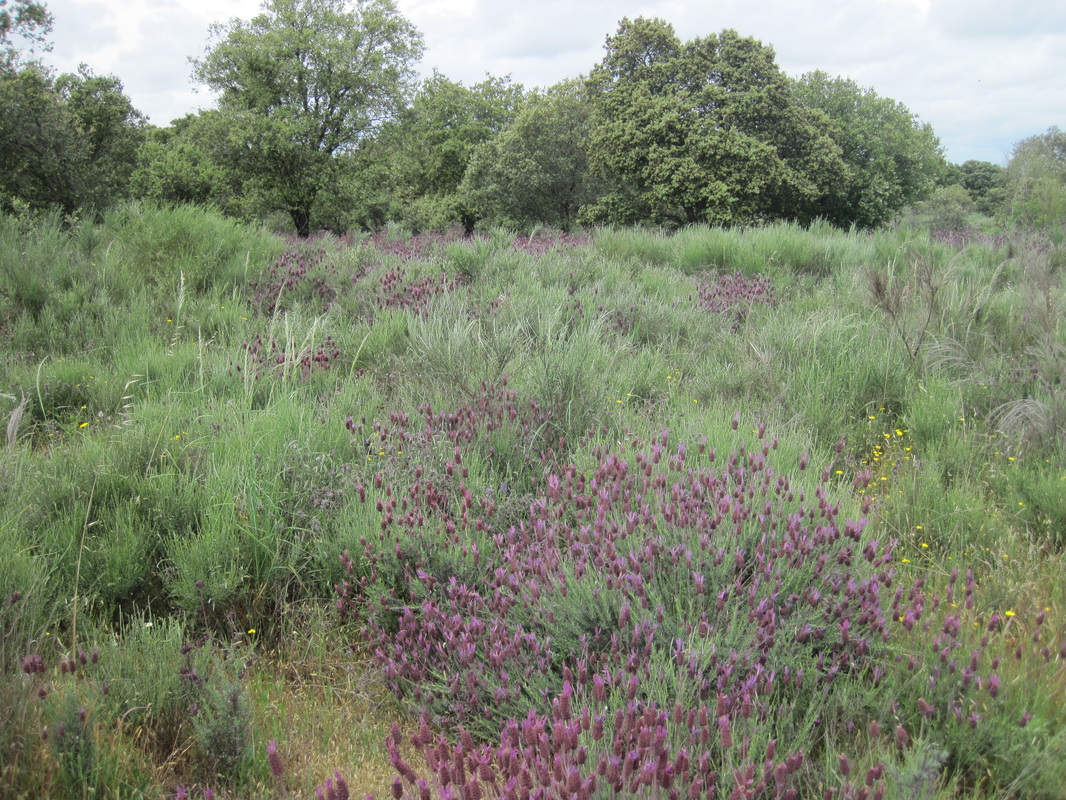
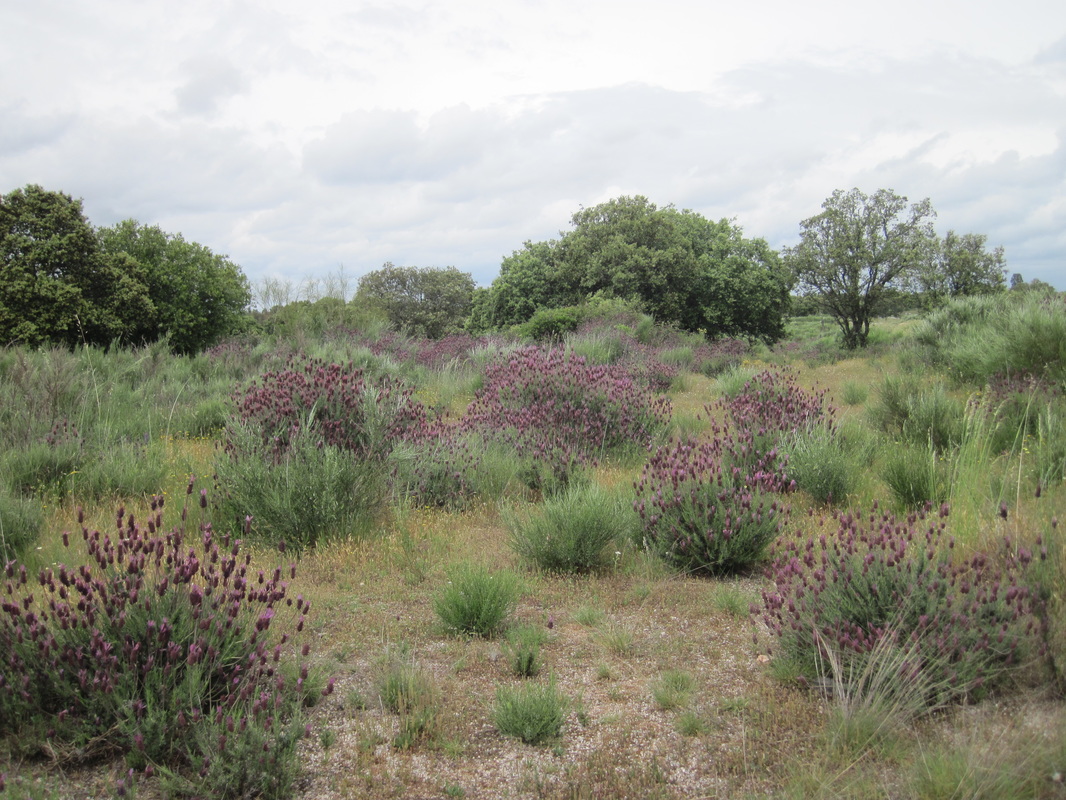
- Spanish lavender grow in zones 8-10. This is the same lavender found along the roadsides in France and Italy, as well as Spain. It is a stocky plant that grows up to 3 feet tall. It has gray or gray-green leaves and purple to pink bracts that resemble rabbit ears. This variety blooms from spring to summer.
Growing requirements:
As with most plants, your success in growing this coveted plant will depend both on what kind of growing conditions you can provide and which varieties you select to grow. Lavender plants will tolerate many growing conditions, but they thrive in warm, well-drained soil and full sun. Add organic matter to improve heavy soils.
Do not be fooled, even though lavender is a Mediterranean plant, without the right species, it will die in places like Texas which experience extended high heat and humidity without the cool nights many varieties of lavender require. It is dampness, more than cold, that is responsible for killing lavender plants. Dampness can come in the form of wet roots during the winter months or high humidity in the summer. If humidity is a problem, make sure you have plenty of space between your plants for air flow and always plant in a sunny location.
Soil Requirements
Like many plants grown for their essential oils, a lean soil will encourage a higher concentration of oils. An alkaline, or especially chalky soil, whill enhance lavenders’ fragrance. Soil should be sandy, loamy, or gravelly. If you live in an area with pour drainage, planting in a raised container with good drainage is a must.
Soil should have low fertility. Lavender prefers alkaline soil with a pH of 6.5 or higher. This can be easily measured with a soil test. Add lime to your soil to boost and retain and increase pH level.
Areas where the ground routinely freezes and thaws throughout the winter will benefit from a layer of mulch applied after the ground initially freezes. Also protect your lavender plants from harsh winter winds. Planting next to a stone or brick wall will provide additional heat and protection.
Soil Preparation
Create an12-18 inch mound with well cultivates soil and two heaving shovelfuls of 1 inch stone worked into the mound. Using a trowel, dig a hole that is deep enough for the plant. Blend together a mix or organic matter that will add nutrients to your soil. You can blend together equal parts of bone meal, lime, and well composted manure. Add 1/2 cup in the bottom of the hole and mix together well. The stone will allow the soil to drain, the lime will improve the pH, and the bone meal and compost will make for a healthy start. Lavender prefers arid conditions both beneath and above the soil. If you live in a humid climate, your plant will benefit from light colored, reflective mulch, or very small bits of pebbles and/or gravel.
Watering
Water lavender deeply but infrequently, waiting until the soil is almost dry. Be on the lookout for wet soil. If you have a mild, but wet winter, check your lavender plants to make sure the tops are not holding excess water, which can cause the crowns to rot. You never want your lavender to be sitting in wet soil, which will rot the roots. Make sure it is growing in a well-draining site to begin with.
Growing Lavender in Containers
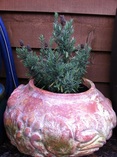
You can always grow your lavender in portable containers or pots and move it to follow the sun or even bring it indoors for the winter. Although lavender has a large, spreading root system, it prefers growing in a tight space. In addition, lavender is shallow rooted, meaning the pot does not need to be very large. Be sure to know the mature diameter of the lavender you are planting so that you can choose an appropriate container. The average depth and spread of the root system is 8-10 inches. A pot that can accommodate the root ball with a couple of inches to spare would be a good choice. Too large a pot will only encourage excessive dampness. Be sure that there is enough drainage for your potted lavender. Root rot is one of the few problems experienced by lavender plants.
Remember:
- Container grown lavender will require more water than garden grown plants. How much more depends on the environment and the type of pot. Water when the soil, not the plant, appears dry and water at the base of the plant to limit dampness on the foliage. It will also need to be watered more frequently in the heat of the summer because it will dry out more quickly.
- The soil in potted lavender is 15 degrees colder than in the ground, because of this it will need to be protected over the winter. Doing the following will allow your plant to flourish:
- Bring the pot to a warm area of the house to protect it from winter wind.
- Wrap the pot in a layer of bubble wrap or burlap to ensure heat retention.
- If the temperature goes below 32 degrees at night, place a blanket, ideally a planket, over the plant, or sink the pot in a compost heap. Do not place plastic sheeting directly over the plant as they will only enhance the transfer of the cold.
Pruning:
Lavender plants need 3 years to hit maturity. They will grow healthier, bloom more profusely and live longer if you do a little annual pruning. Don’t be afraid of this tough love. Lavender plants left to their own devices will become woody and flowering will diminish. Start your plants off right.
Although lavender plants get regularly pruned simply by harvesting the flowers, to keep them well shaped and to encourage new growth, a bit of spring pruning is in order. The taller varieties can be cut back by approximately one-third their height. If you have low-growing varieties, trim back foliage 1 to 2 inches. Once your plant is in its second year and if it is 3 to 4 feet tall, you should trim it back to about a third of its height to keep the plant from getting overly woody. If you plant has become woody, remove a few of its older branches and trim back more as new growth begins.
When to Prune:
In frost free areas, your lavender plants may remain evergreen. You can prune at harvesting time and prune to shape in early spring. If you live in an area where lavender suffers some winter die-back, don't even think about pruning your plants until you see some new green growth at the base of the plant. The top growth will serve as insulation, keeping the crown, and roots of the plant protected from repeated freezing and thawing. However, don’t wait too long either. You should see the new growth by mid-spring. If you wait longer, you risk cutting of the flower buds that are forming. If you disturb the plants too soon in the season, they give up trying.
There will probably be some winter die back, but if you wait until the new growth starts, you will be able to see which stems are dead and can be pruned out. If you get a second flush of blooms in the fall, you can cut them back. This will remove some of the top growth, but you don’t all these flower stalks weighing the plants down.
First Year Pruning
The important thing to remember about first year plants is not to prune down into the woody part of the stems. If you prune too drastically, they might not regrow. Look for where the woody section turns to soft green growth and then prune about 2 - 3 inches above that. It can seem severe, but pruning off all that top growth strengthens the roots and gives you a bushier, more compact plant.
Second Year Pruning
Your plant should be quite a bit larger this year, with more blooms. While the plant is in bloom, usually in mid-summer, gather up the flower stalks and once again prune the plant back to 2 - 3 inches above where the soft, green growth begins on the lower part of the plant. Don’t shear straight across. Follow the contours of the plant. You should wind up with a rounded mound. Don’t forget to clean up the sides, too.
Third Year Pruning
By year 3, your plant should be quite large and blooming with abandon. The best time to prune is just as the flowers are starting to open. The flowers will continue to open after you harvest them and you will be able to enjoy both their beauty and their fragrance in bouquets or however you plant to make use of them.
By creating a mounded shape in years 1 and 2, the plant is so full by year 3 that using your pruners is not the most efficient way to prune any longer. A small scythe or curved harvesting knife is a much better tool for this. Grab the flower stalks by the handful and slice them off at the base. Don’t try to do the whole plant at once, just grab what you can hold.
Harvesting:
Gather a long-stemmed variety of lavender if you can, or otherwise remove the excess leaves from each stem.
It is best to pick your lavender before it is in full bloom, i.e. before the little florets are completely open and the blooms are showing color. For sachets and potpourri by cutting flower spikes or stripping flowers from stems just as the blossoms begin to show color. This ensures that the dried buds will retain their fragrance for longer, and it also means that they won’t fall apart as they dry.
As with most herbs, the best time to pick is in the mid-morning after the dew has evaporated.
Buds and Petals: If you want only dry lavender buds or petals and have limited hanging space, remove the lavender stalks from the fresh lavender, keeping the lavender heads. Place your lavender heads in a layer at the bottom of a box lined with newspaper. Store this box in a warm, dry place, and gently shake each day to aerate. Once dried, rub the lavender heads to separate off the individual buds.
Bunches: If you would like to dry lavender bunches, make sure you cut nice long stems of lavender. You can hang each stem individually to dry (time-consuming!), or gather together small bunches (so that your hand can wrap around the base of the bunch). Secure the stems of lavender together with a rubber band, because the lavender will shrink as it dries. Once dried, you can replace the rubber band with a decorative ribbon or piece of raffia. Hang your bunch of lavender upside-down to dry in a well ventilated area of your house (in your garage, from a curtain rail, etc). You can also place a blanket, sheet, tray or paper under the lavender to catch any of the petals that might fall off during the drying process (these are good to use for making lavender sachets!). Remember, humidity is your enemy.
Drying times
The lavender drying time will depend upon the level of humidity and temperature, so check on your bundles periodically to assess their dryness. It can be anywhere from 1 week upwards (usually taking between 2-4 weeks).
Check that the buds and stalks are completely dry (they should feel dry and a bit brittle or crunchy to touch) before you use them, otherwise they might grow mold, fungus, or rot.Once dried, remove the rubber band from around the stems, and use the dried lavender to make fragrant flower arrangements.
Put your bunch of dried lavender in a vase, or lay on a shelf or table. These bunches will add a beautiful fragrance and look to any room. Alternatively, collect the lavender buds and use them in potpourri and lavender sachets. The remaining lavender stalks can be used as fragrant fire-starters during winter.
Longevity:
Unfortunately even if you do everything right and your lavender plants appear happy, the genus is generally not long lived and most lavender plants begin to decline after about 10 years. Therefore, plan to refresh your lavenders with new plants on a fairly regular basis.
Additionally, there are many other beautiful and beneficial herbs in additional to lavender which can yield great enjoyment

 RSS Feed
